In software languages and tools like Gradle, Hello World is the simplest example to get you started, before moving onto more advanced topics. But in our hurry to move on, we miss important lessons staring us in the face. Here are 13 key learnings from a Gradle Hello World project, forming the fundamentals of this powerful build tool.
If you thought Gradle can be complicated, you’re right. It offers advanced features to satisfy LinkedIn, Netflix, and other companies operating at massive scale. But for most use cases, we can ignore that complexity and focus on a small simple subset of features.
Let’s write Hello World and explore many of those features. The aim is to create a Gradle project with a task we can execute to print out, you guessed it, Hello World!
Creating a Hello World Gradle project
First, we need to install the Gradle build tool. You can do that by following this Gradle Installation Guide, and following the instructions for your operating system.
The main steps are:
-
Gradle runs on Java 1.8+, so run
java --versionto check your version -
download and extract the latest Gradle release
-
add the Gradle bin directory to your
PATHenvironment variable -
verify Gradle is installed
$ gradle --version

Welcome to Gradle 7.6!
Now let’s use the gradle init command to create our Hello World project.
- create a directory gradle-hello-world
- navigate to that directory
- run
gradle initand keep pressing enter to accept all the defaults
$ mkdir gradle-hello-world
$ cd gradle-hello-world/
$ gradle init

Select type of project to generate:
  1: basic
  2: application
  3: library
  4: Gradle plugin
Enter selection (default: basic) [1..4]

Select build script DSL:
  1: Groovy
  2: Kotlin
Enter selection (default: Groovy) [1..2]

Generate build using new APIs and behavior (some features may change in the next minor release)? (default: no) [yes, no]
Project name (default: gradle-hello-world):

> Task :init
Get more help with your project: Learn more about Gradle by exploring our samples at https://docs.gradle.org/7.6/samples

BUILD SUCCESSFUL in 8s
2 actionable tasks: 2 executed
We now have a fully formed Gradle project, in just a few keystrokes. gradle init created 8 important project files automatically, ready for us to add the configuration needed to print out Hello World!
$ ls -lA
total 20
-rw-r--r-- 1 Tom 197121  223 Dec 13 10:02 .gitattributes
-rw-r--r-- 1 Tom 197121  108 Dec 13 10:01 .gitignore
drwxr-xr-x 1 Tom 197121    0 Dec 13 10:01 .gradle
-rw-r--r-- 1 Tom 197121  204 Dec 13 10:02 build.gradle
drwxr-xr-x 1 Tom 197121    0 Dec 13 10:01 gradle
-rwxr-xr-x 1 Tom 197121 8497 Dec 13 10:01 gradlew
-rw-r--r-- 1 Tom 197121 2868 Dec 13 10:01 gradlew.bat
-rw-r--r-- 1 Tom 197121  375 Dec 13 10:02 settings.gradle
We won’t get tied up with the details, but the most important file is build.gradle, the Gradle build script.
Unlike other build tools, such as Maven or npm, Gradle’s build file is a script which gets executed. You write the build script in either Groovy or Kotlin, both languages which run on the Java Virtual Machine (JVM).
We’ll use Groovy today, so now let’s explore how to configure the build script to print Hello World!
Writing the Hello World build script
Gradle’s Groovy build script can actually run any Groovy code you write in there. That can sometimes be useful, but normally we call Gradle-specific functions to configure our project as required.
For example, units of work in Gradle are separated into tasks, run from the command line. We register a task in the build script by calling tasks.register(String name, Action configurationAction).
Don’t worry about the details for now. What’s important is to know that in the build script we mostly call Gradle functions, which are available to us through its APIs.
Let’s try this out by registering a helloWorld task. You can edit build.gradle in any text editor, or use an IDE like IntelliJ IDEA.
Enter the following code, deleting any comments added by gradle init:
tasks.register('helloWorld') {
    doLast {
        println 'Hello world!'
    }
}
These 5 lines are all we need for our Hello World! project.
Let’s break it down line-by-line:
- Line 1: calls the
registerfunction to register a new task. It passes a task name, and a block of Groovy code called a closure (code which is passed around and executed later). This configures the task in a specific way. - Line 2: in the configuration closure, calls the
doLastfunction. This function also takes a closure, which contains any code to run when the task is executed. - Line 3: in the task execution closure, calls the Groovy function
printlnto print our magic string
Note that all the functions we call are part of the the Gradle API, except println. These functions combine to form the Gradle Domain Specific Language (DSL). It’s is a way of writing the build script, following Gradle conventions, which makes it look more like a configuration file than a script.
Now our build script in setup to register the helloWorld task, it’s almost time to run it. But there’s still a lot more to learn.
Running the Hello World task
You can run Gradle tasks from the command line. It’s as simple as passing the task name, and letting Gradle take care of the rest.
$ gradle helloWorld

> Task :helloWorld
Hello world!

BUILD SUCCESSFUL in 1s
1 actionable task: 1 executed
Gradle executes the task, which prints out Hello world!, and reports a successful build. Awesome!
But the Gradle command line has a few more powerful features we should use.
Remember the files created earlier by gradle init?
Well, one of them was gradlew. That’s a special script called the Gradle wrapper, which you can run instead of the gradle command. The advantage of using the Gradle wrapper is that you don’t need to have Gradle installed locally. You commit it to version control, and anyone who checks out your project can run a task right away.
You call the wrapper in a similar way to the gradle command, passing the task name.
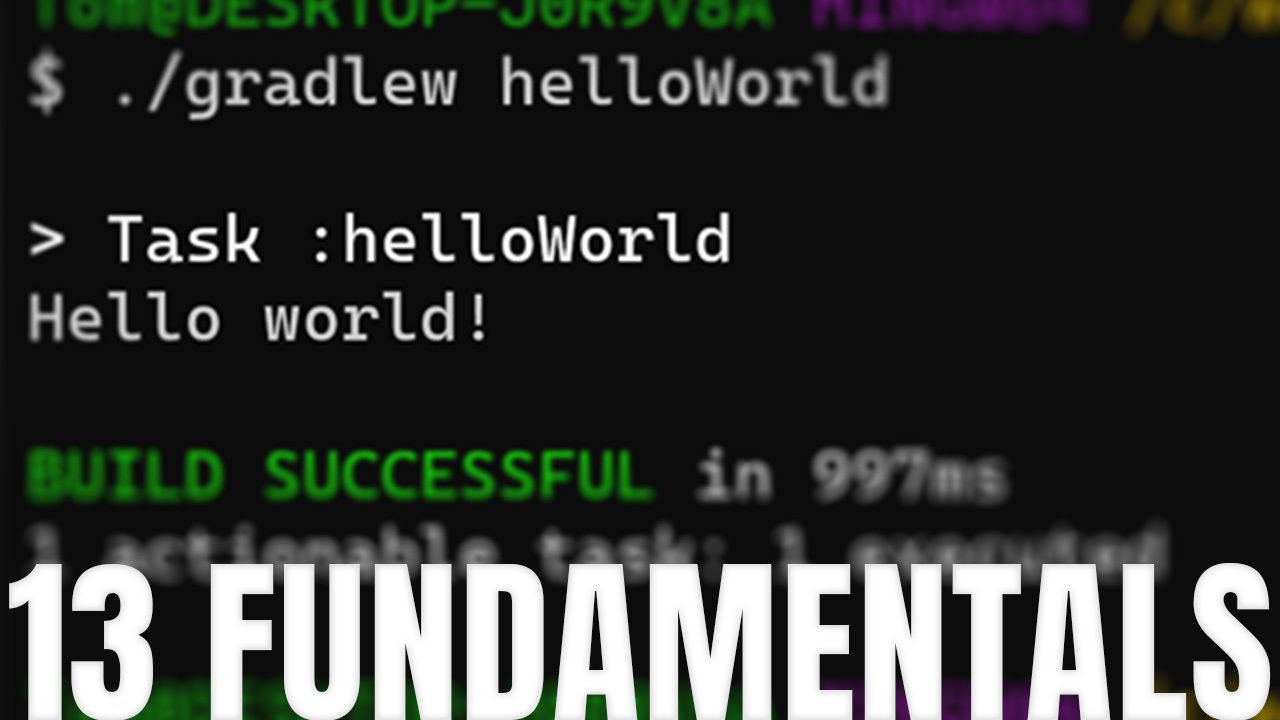
$ ./gradlew helloWorld

> Task :helloWorld
Hello world!

BUILD SUCCESSFUL in 4s
1 actionable task: 1 executed
If you’re on Windows, use the gradlew.bat script instead of gradlew.
There are command line options to control the way your build runs. Run ./gradlew --help to see them all.
$ ./gradlew --help

To see help contextual to the project, use gradlew help

USAGE: gradlew [option...] [task...]

-?, -h, --help                     Shows this help message.
-a, --no-rebuild                   Do not rebuild project dependencies.
...
One useful option is --quiet which produces less output during execution.
$ ./gradlew --quiet helloWorld
Hello world!
Or alternatively, --info to produce more output, sometimes helpful for debugging issues:
$ ./gradlew --info helloWorld
Initialized native services in: C:\\Users\\Tom\\.gradle\\native
Initialized jansi services in: C:\\Users\\Tom\\.gradle\\native
...
Finally, you can pass as many task names as you like on the command line. Let’s run the help task, which is included by default with every project, followed by our helloWorld task.
$ ./gradlew help helloWorld

> Task :help

Welcome to Gradle 7.6.

To run a build, run gradlew <task> ...

To see a list of available tasks, run gradlew tasks

To see more detail about a task, run gradlew help --task <task>

To see a list of command-line options, run gradlew --help

For more detail on using Gradle, see https://docs.gradle.org/7.6/userguide/command\_line\_interface.html

For troubleshooting, visit https://help.gradle.org

> Task :helloWorld
Hello world!

BUILD SUCCESSFUL in 1s
2 actionable tasks: 2 executed
Can you guess what would happen if we tried to run the helloWorld task twice?
$ ./gradlew helloWorld helloWorld

> Task :helloWorld
Hello world!

BUILD SUCCESSFUL in 1s
1 actionable task: 1 executed
However many times you pass a task on the command line, Gradle only runs a task once maximum.
That’s useful, because in more advanced Gradle projects tasks depend on other tasks, forming the task graph. For example, in a Java project, ./gradlew build runs many different tasks which comprise the full build process.
Final thoughts
If you’re just starting out with Gradle, you now know some of the most important fundamentals.
Why not build on this knowledge by taking my extremely useful free introductory course, Get Going with Gradle? It shows you how to build basic Java projects with Gradle and explains the task graph mentioned earlier in much more detail.
Stop reading Gradle articles like these
This article helps you fix a specific problem, but it doesn't teach you the Gradle fundamentals you need to really help your team succeed.
Instead, follow a step-by-step process that makes getting started with Gradle easy.