Gradle check task essentials

In this article you'll discover everything you'll ever need to know about Gradle's verification task, check.
Check is a task you run from the command line using ./gradlew check in Linux and Mac or gradlew check in Windows.

To understand check, know that Gradle has 2 types of tasks:
-
actionable tasks have some action(s) attached to do work in your build
-
lifecycle tasks are workflow tasks with no actions attached.
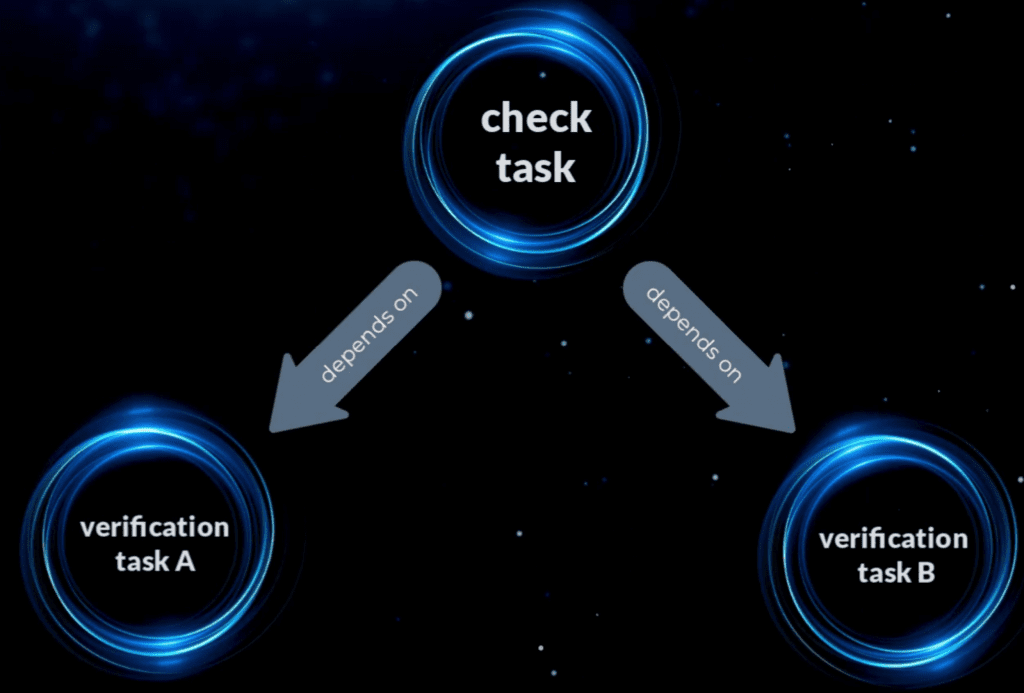
Check is a lifecycle task. Lifecycle tasks often combine several other tasks and are helpful to run as part of your development workflow.
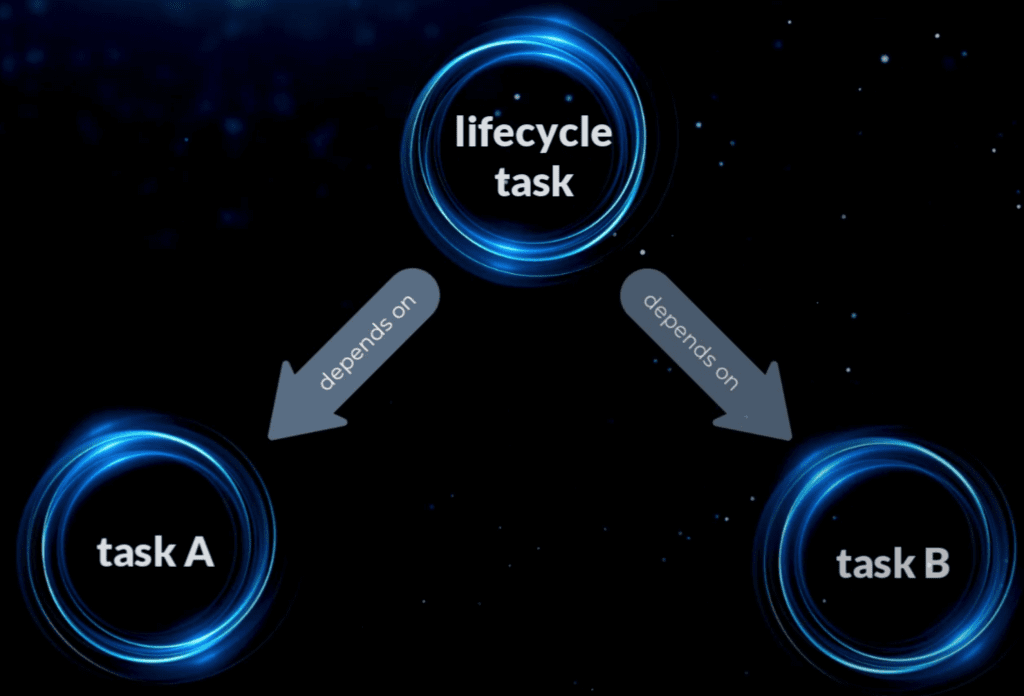
The purpose of check is to combine all the verification tasks into a single task.
If you've used Maven before, you can think of check as similar to the Maven verify phase.
Adding check to a Gradle project
Check is actually added into a Gradle project by the base plugin, which adds standard tasks to ensure consistency.
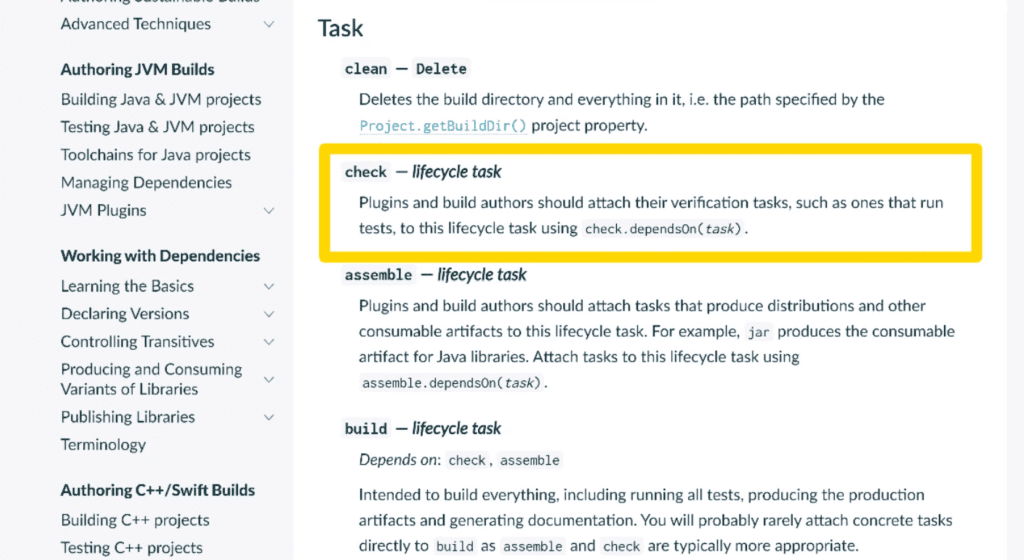
Tasks added by the base plugin (from Gradle docs)
If you haven't heard of the base plugin, that's because it's applied automatically by java and other plugins.
Let's apply the base plugin to a Gradle project's Kotlin build script:
plugins {
    base
}
If we run the tasks task we see that check is in the verification tasks group.
$ ./gradlew tasks

...

Verification tasks
------------------
check - Runs all checks.
At this point when we run the check task, it does nothing.
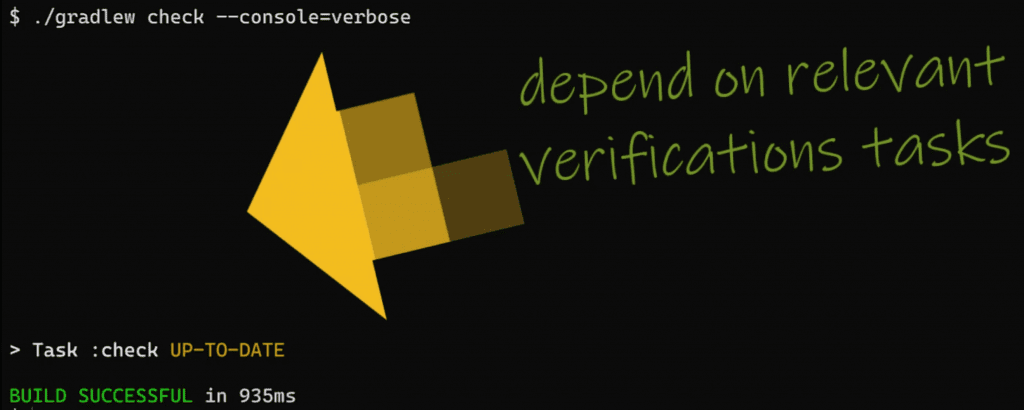
It's up to other plugins or you as a build author to configure check to depend on the relevant verification tasks.
Tasks that check depends on
A good example of how this works is the java plugin.
plugins {
    java
}
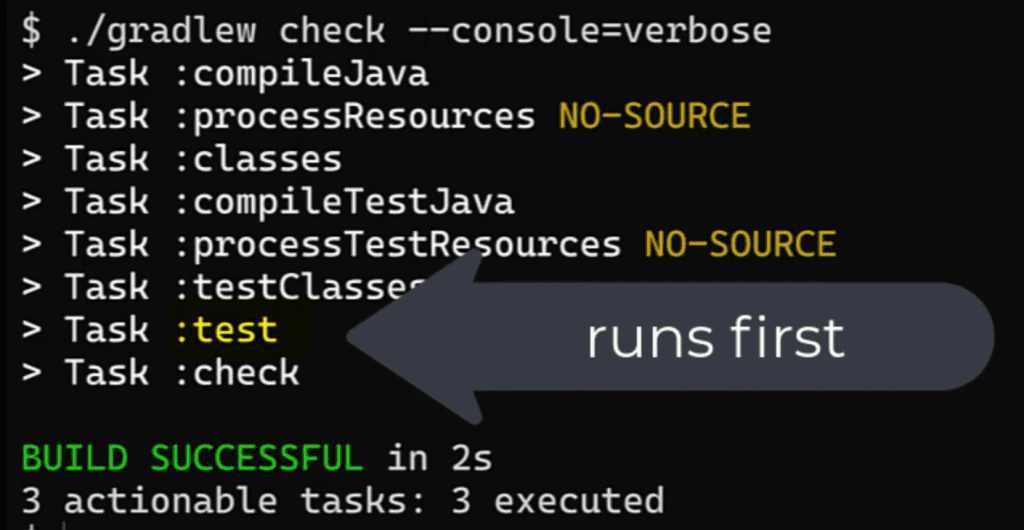
This adds a test task to run unit tests, and configures check to depend on it.
So in a Java project when we run check, we see test runs first.
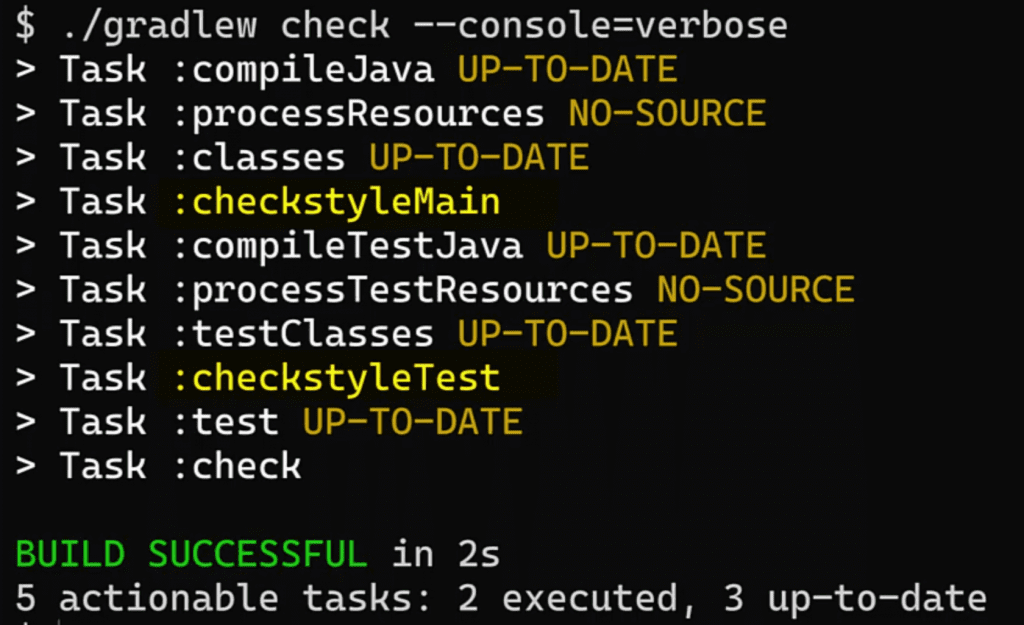
The checkstyle plugin also sets up task dependencies from check to its own tasks.
When we apply the plugin we also have to specify a repository, shown below.
plugins {
    java
    checkstyle
}

repositories {
    mavenCentral()
}
Let's run check, and we see that Gradle runs the checkstyleMain and checkstyleTest tasks first.
If you have other verification tasks, for example an integrationTest task, you can hook them into the check task by configuring a task dependency.
tasks.named("check").configure {
    dependsOn(tasks.named("integrationTest"))
}
Ways to run check
So what ways can we run check?
You've seen the most basic of just passing the full task name with ./gradlew check.
But you can also use an abbreviated name ./gradlew ch, saving you 3 full keystrokes! 🥳

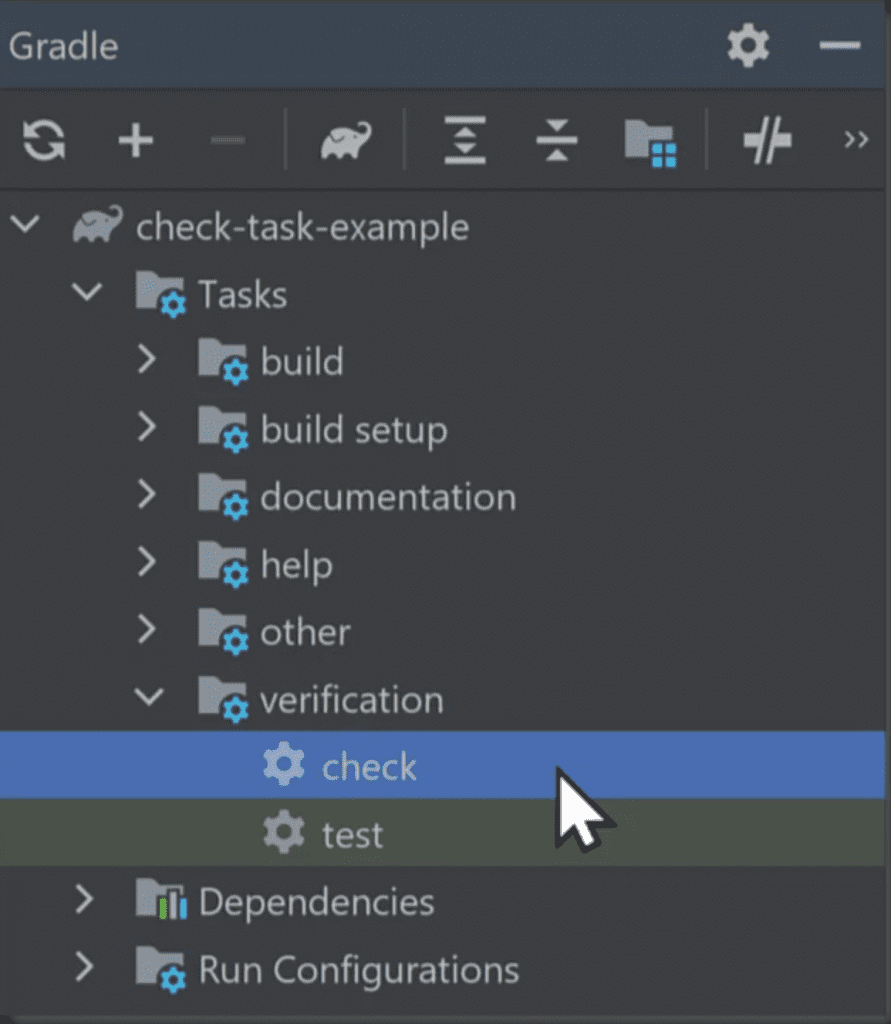
Within IntelliJ IDEA, find the check task in the Gradle tool window under verification. Double click it to run.
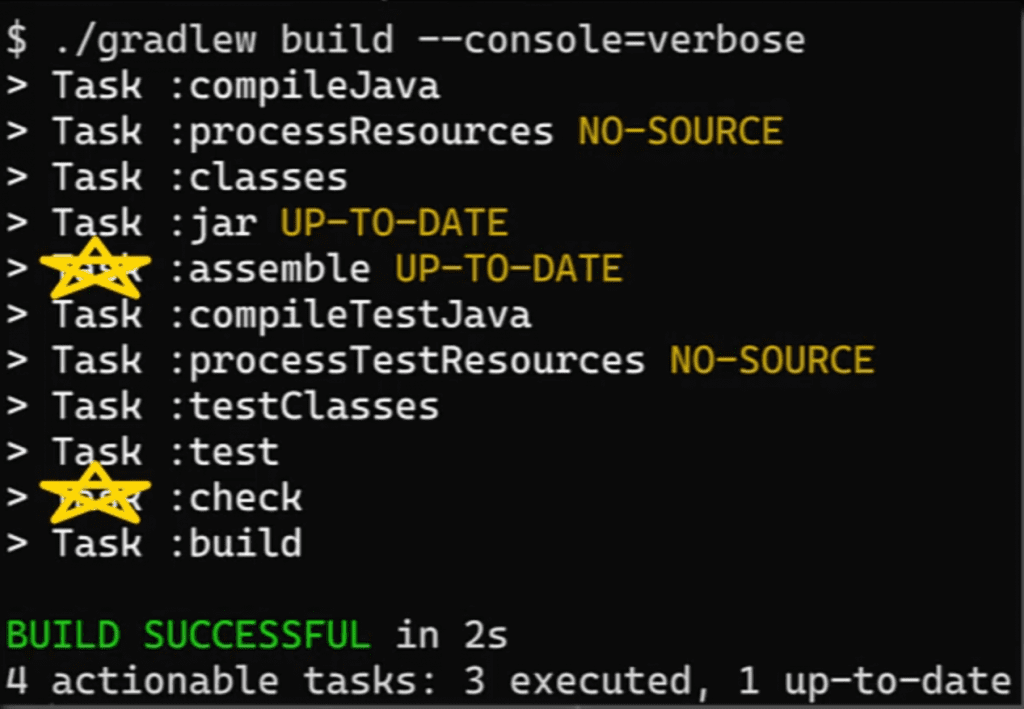
Check is also run when you run the build task, thanks to a task dependency setup by the base plugin.
Gradle runs the assemble task then check.
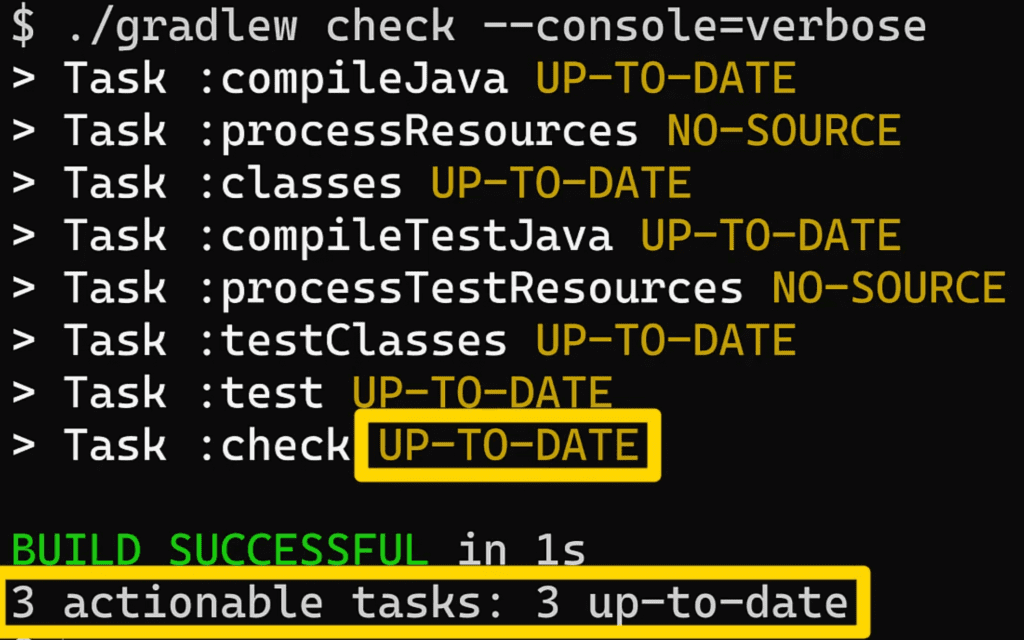
By the way, when you run check when nothing has changed in your project, it will be marked as UP-TO-DATE and no work should be done in your build, saving time.
When to use check
The final question is when should you use check?
Well, any time you need to validate your whole project, such as before pushing code or in your CI environment.
check vs. build
You can achieve the same outcome by running build, but that also generates artifacts like jar files which you might not need.
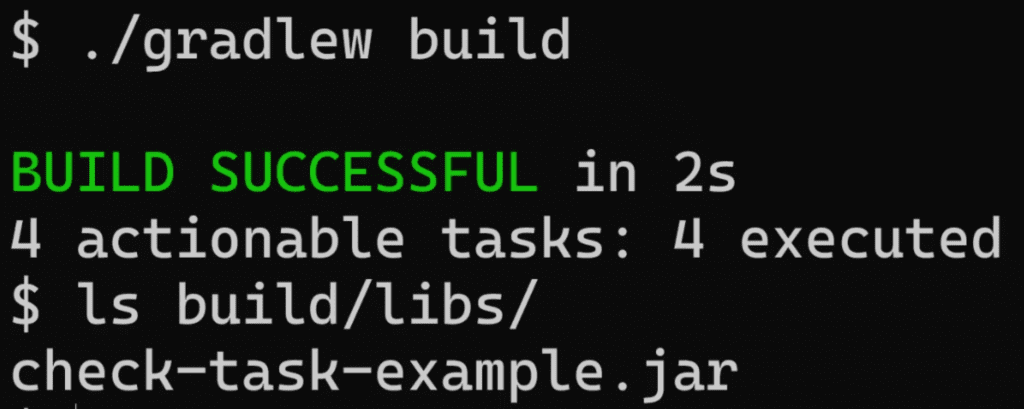
Running check instead of build can be faster.
check vs. test
Check is a superset of all verification tasks, and includes the test task which runs unit tests. If test is the only verification task in your project, then check and test are equivalent.
But it might be better to start using check now in case you add more verification tasks in the future.
For a more thorough of Gradle task dependencies and the task graph in Java projects, why not "check" out my free Gradle Quick-Start Guide?
Watch this video demonstrating the ideas from this article.
Lack of Gradle knowledge slowing you down?
A broken build is easy enough to fix. But a misconfigured build is the silent time killer that costs hours every week.
Slow builds. Slow tests. Slow development.
But the official Gradle docs are confusing. Most developers never properly configure their projects—and as codebases grow, builds become bottlenecks.

This guide fixes that. It's a step-by-step walkthrough for Java developers who want to master Gradle fast.
- Unlock the mysteries of the build script.
- Speed up your workflow.
- Make development fun again.