How to add a Gradle dependency

Discover the best way to add a dependency to a Gradle project and understand what Gradle does to make the dependency available to your application code.
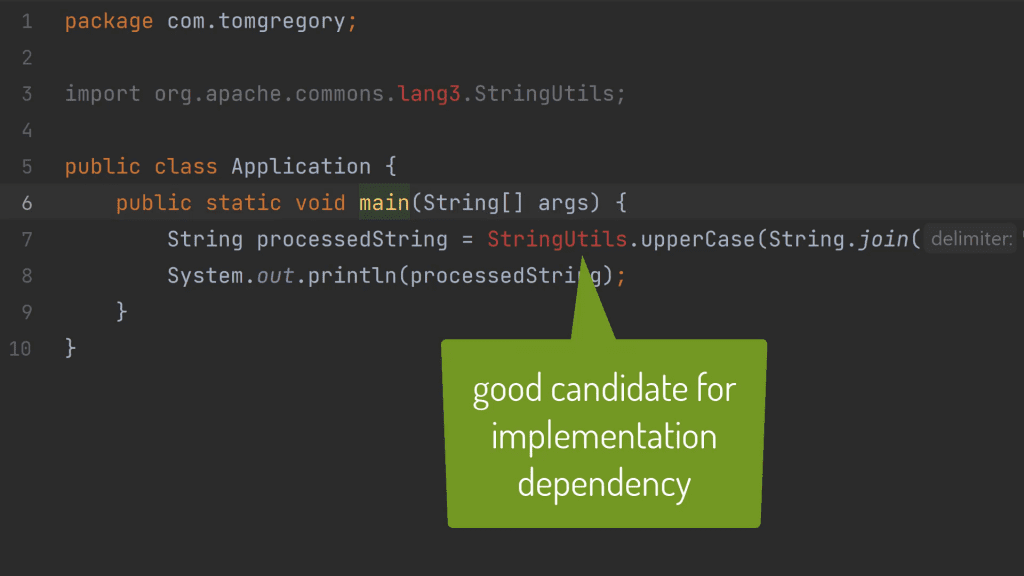
Sometimes when you're developing an application you need to use code from another library. In the below Java application built with Gradle, I want to use the StringUtils class to process the input by switching it to upper case.
package com.tomgregory;

import org.apache.commons.lang3.StringUtils;

public class Application {
    public static void main(String[] args) {
        String processedString = StringUtils.upperCase(String.join(" ", args));
        System.out.println(processedString);
    }
}
But when I run the application, I get a runtime exception saying StringUtils can't be found.

I've got an error, but I know that StringUtils exists within the Apache commons-lang3 library, because I've used it before.
In fact, I can even see details of the library at mvnrepository.com, the website that shows the contents of the Maven Central repository.
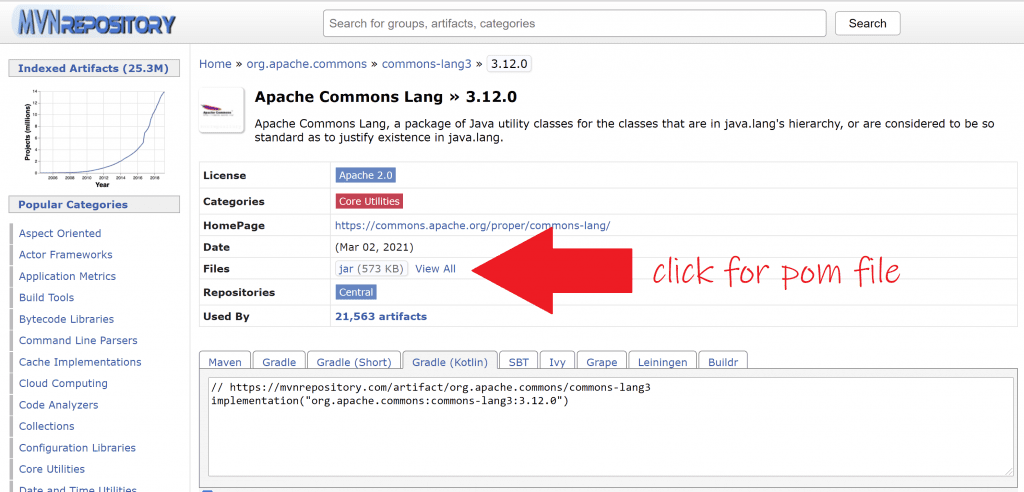
If we look in the linked pom XML file, we can see the dependency has a:
-
group of org.apache.commons
-
artifactId of commons-lang3
-
version of
3.12.0
These 3 datapoints are called the dependency's coordinates, like a location on a map.
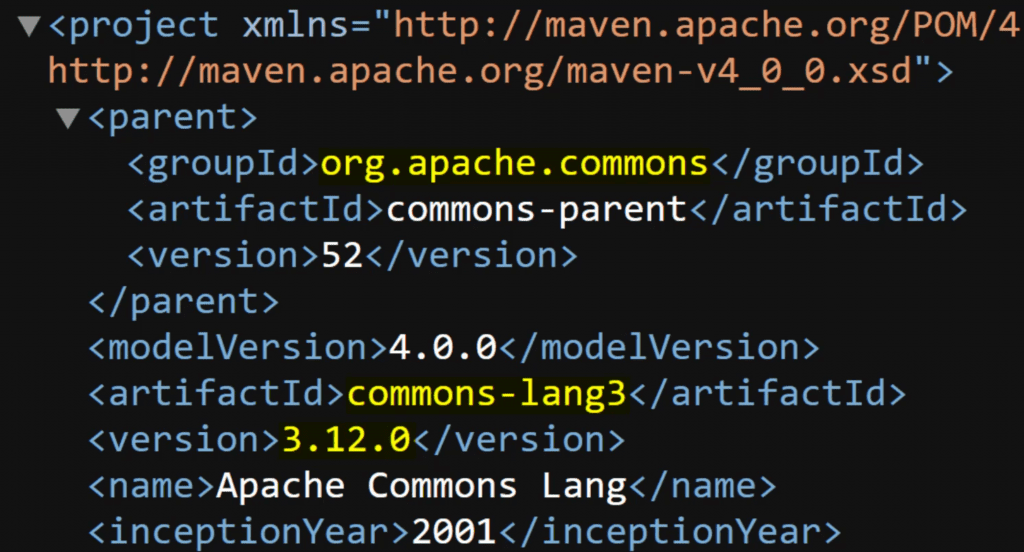
These coordinates are all Gradle needs to find a dependency within a specified repository. 🧭
Configuring Gradle repositories
Yes, I said a specified repository. It's up to us to configure that.
Let's go to the Gradle build script. I'm using the Kotlin build.gradle.kts file here, but you can click below to switch to the Groovy build.gradle equivalent.
The application plugin let's me build and attempt to run the application, which as you saw above fails right now.
In our case we want Gradle to look in Maven Central, so within the repositories section of the build script, we call the corresponding method.
Depending on your use case, you might need to use other repositories like:
-
Google Maven
-
Maven local
-
your own custom Maven repository
-
local file location.
Defining your dependency
Now that Gradle knows which repository to look in, let's tell it what to look for. We do that within the dependencies section of the build script.
Specify the co-ordinates, or in other words the group, artifactId, and version, within a string using a colon separator.
Maybe you're wondering what implementation here means? That's known as a dependency configuration. You can think of it as a bucket in which dependencies are thrown.

There are different buckets that get used in different ways, but the implementation bucket (a.k.a. dependency configuration) is super-helpful in Java projects because its dependencies get added to the compile and runtime classpaths.
Gradle implementation dependencies are added to the Java compile and runtime classpaths
Anyway, more on this shortly, but in many cases implementation is what you should use for dependencies you want to access from your application's code.
With the dependency defined as above, my IDE IntelliJ IDEA still doesn't know about it. To fix that, I can hit the Load Gradle changes button
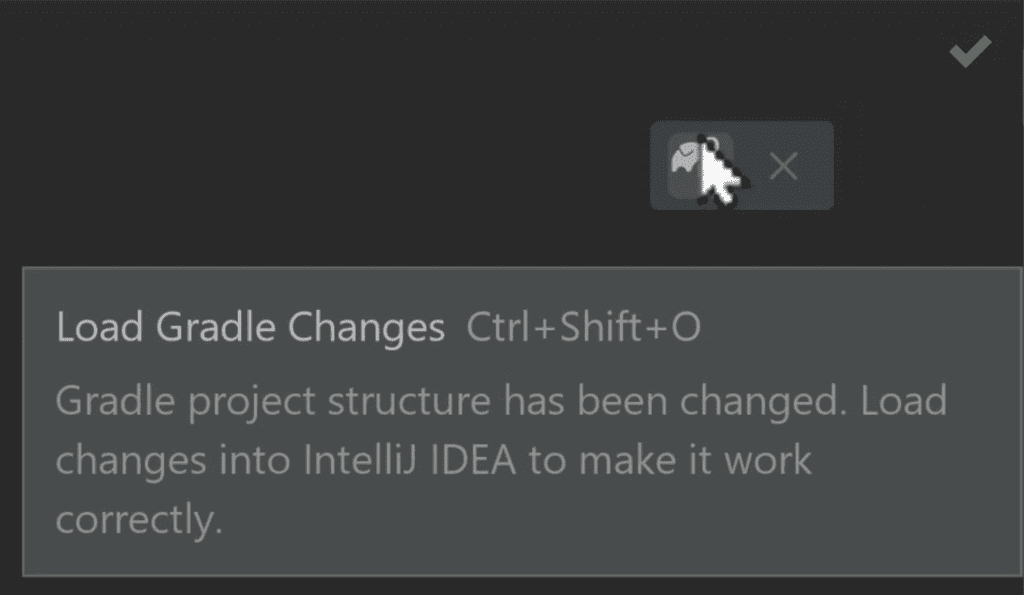
Or use the equivalent keyboard shortcut.
Now when I look at my code, the errors are gone since StringUtils within commons-lang3 is now available.

Let's try running the application again from the command line, and this time we get the expected output in uppercase. OK cool!

But what's actually happening here?
The secret to inspecting the Java classpaths
Well as I mentioned before, implementation dependencies end up on the compile and runtime classpaths. We can actually see what's on these classpaths by running the dependencies task.
$ ./gradlew dependencies
...
compileClasspath - Compile classpath for source set 'main'.
\--- org.apache.commons:commons-lang3:3.12.0
...
runtimeClasspath - Runtime classpath of source set 'main'.
\--- org.apache.commons:commons-lang3:3.12.0
...
BUILD SUCCESSFUL in 6s
1 actionable task: 1 executed
It shows that indeed our compile and runtime classpaths now contain commons-lang3. That means Gradle is able to compile and run our code correctly. Nice!
But there are 3 more things you'll find super-helpful to know when working with Gradle dependencies.
The 2 dependency notations
There are actually 2 ways to define the dependency co-ordinates.
What you saw above is the string notation, which is just the group, name, and version separated by a colon e.g. "org.apache.commons:commons-lang3:3.12.0"
You might also see the map notation, where each datapoint has its own key, making the declaration more explicit.
Use whichever notation you prefer, but apply it consistently within a project.
Other popular dependency configurations
You might come across other dependency configurations like compileOnly and runtimeOnly.
Use compileOnly when you want the dependency to appear only on the compile classpath, like when you're using an annotation processor such as Lombok.
compileOnly("org.projectlombok:lombok:1.18.22")
compileOnly 'org.projectlombok:lombok:1.18.22'
And yes, you guessed it! Use runtimeOnly when you want the dependency to appear only on the runtime classpath, for example a particular database library like postgresql.
Easily add dependencies in IntelliJ IDEA
In IntelliJ IDEA, when you're within the dependencies section of the build script, press Alt+Insert in Windows or ⌘N on Mac, then select Add Package.
You can then easily search for and add any dependency, all without leaving the IDE!
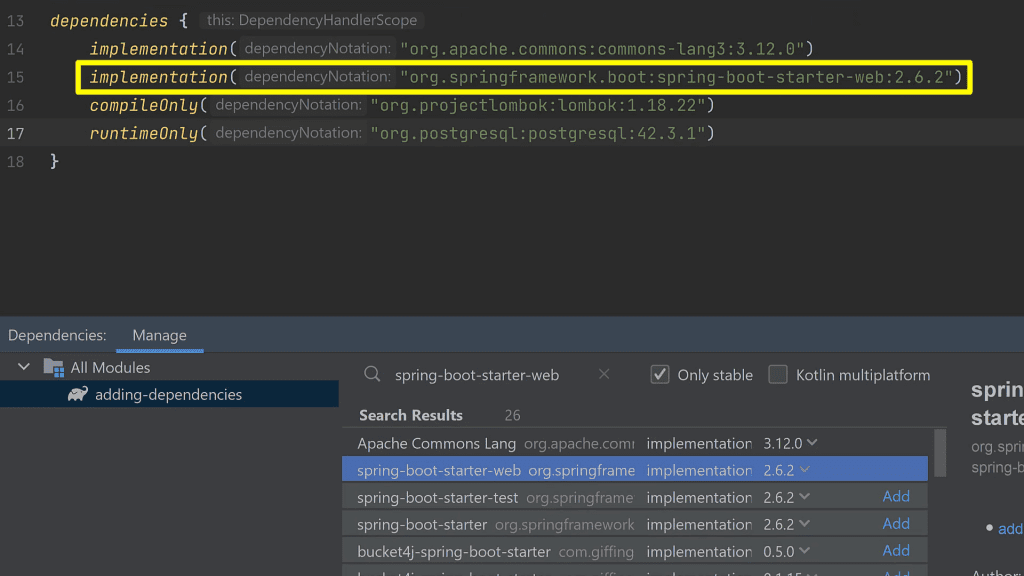
Using Add Package to add the spring-boot-starter-web dependency
Final thoughts
In summary, just remember to declare your dependency in the build script using the correct group, name, and version, against the relevant dependency configuration, which is likely implementation.
Oh, and don't forget to add the required repositories.
If you'd like to learn more of the fundamentals of building Java applications with Gradle, why not check out my free Gradle Quick-Start Guide?
Watch this video demonstrating the ideas from this article.
Lack of Gradle knowledge slowing you down?
A broken build is easy enough to fix. But a misconfigured build is the silent time killer that costs hours every week.
Slow builds. Slow tests. Slow development.
But the official Gradle docs are confusing. Most developers never properly configure their projects—and as codebases grow, builds become bottlenecks.

This guide fixes that. It's a step-by-step walkthrough for Java developers who want to master Gradle fast.
- Unlock the mysteries of the build script.
- Speed up your workflow.
- Make development fun again.