
1. Understanding the Gradle fundamentals
1.1. Introduction
This chapter gives you a clear overview of Gradle and how it works before diving into details later.
We’ll cover four key Gradle concepts:
-
Project: the container for your entire build.
-
Build script: defines what your build does.
-
Tasks: individual units of work added to your build script.
-
Plugins: pre-packaged components that add useful build features.
These concepts are all you need to understand before creating simple Gradle projects.
It’s so straightforward to get started with Gradle that you can create a project in just 30 seconds. This chapter walks through every step of that process, and by the end you’ll be able to create this project yourself from scratch.
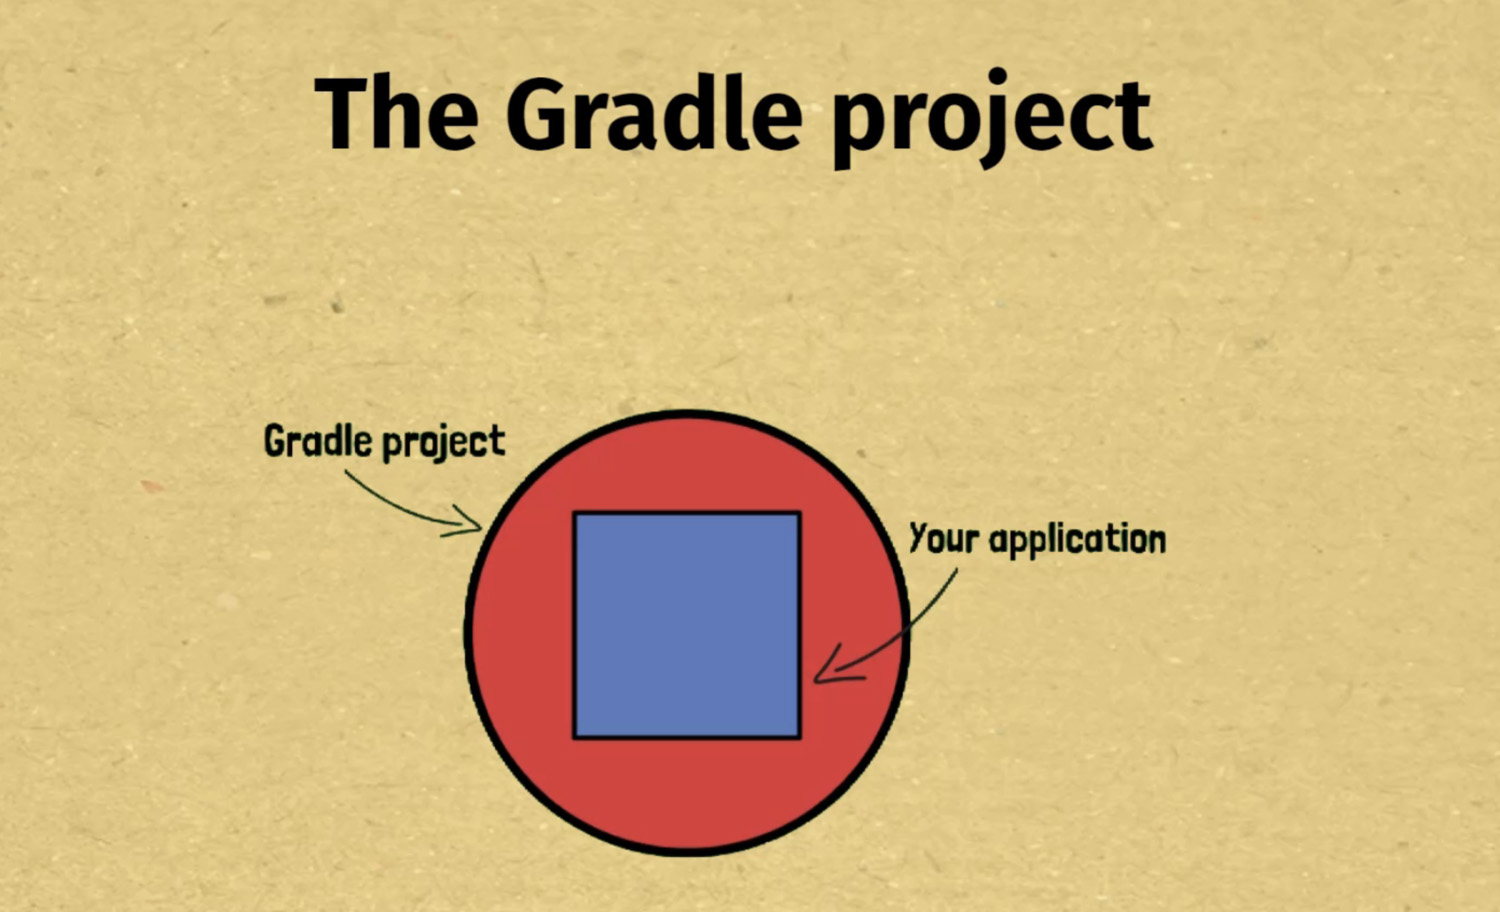
1.2. The Gradle project
The highest-level concept in Gradle is the project, which represents the entire application you’re building.
One well-known example of a Gradle project is Spring Boot. Gradle builds Spring Boot into libraries that we can use to create our own applications.
Before we get into a demo of a Gradle project, here’s a quick overview. There’s no limit to the size of a Gradle project. It could represent the smallest microservice you can imagine which accomplishes a specific task, or a huge monolithic application.
As you go through this book you’ll encounter several Gradle projects, starting off very simple, then growing slightly in size and complexity.
Maybe you’re wondering practically speaking, what does a project look like? In its simplest form it consists of a project directory, and within that a single file named settings.gradle.kts. Inside that file we specify the name of the Gradle project.
Once a Gradle project has been created, you can interact with it on the command line using the gradle command, which we’ll cover in detail in later lessons.
For the 30-second project we’ll work on in this chapter, we have a project directory named 30-second-project.
30-second-project
`-- settings.gradle.kts
In there is the settings.gradle.kts file which contains the name of the project specified in quotes.
rootProject.name = "<the project name>"With this file in place we now have a Gradle project we can interact with.
If I run the gradle tasks command inside the project directory, we get a message Tasks runnable from root project `30-second-project' and a list of tasks available in this project.
$ gradle tasks

> Task :tasks

------------------------------------------------------------
Tasks runnable from root project '30-second-project'
------------------------------------------------------------

Build Setup tasks
-----------------
init - Initializes a new Gradle build.
wrapper - Generates Gradle wrapper files.

Help tasks
----------
buildEnvironment - Displays all buildscript dependencies declared in root project '30-second-project'.
dependencies - Displays all dependencies declared in root project '30-second-project'.
dependencyInsight - Displays the insight into a specific dependency in root project '30-second-project'.
help - Displays a help message.
javaToolchains - Displays the detected java toolchains.
outgoingVariants - Displays the outgoing variants of root project '30-second-project'.
projects - Displays the sub-projects of root project '30-second-project'.
properties - Displays the properties of root project '30-second-project'.
resolvableConfigurations - Displays the configurations that can be resolved in root project '30-second-project'.
tasks - Displays the tasks runnable from root project '30-second-project'.

To see all tasks and more detail, run gradle tasks --all

To see more detail about a task, run gradle help --task <task>

BUILD SUCCESSFUL in 1s
1 actionable task: 1 executed
This shows us that our project is properly setup and Gradle understands it. More details on all of this, including understanding what tasks are, is coming up in later lessons.
Project naming
You can name your project anything you like, it doesn’t have to match the name of the project directory. Be imaginative!
Strictly speaking, you don’t have to specify a project name in settings.gradle.kts, but it’s a good idea because it means even if someone clones your repository into a differently named directory, the project name remains the same.
In the rest of this chapter, we’ll build on top of the simple project we just created to explore more Gradle fundamentals.
1.3. The Gradle build script
As you just saw, a settings.gradle.kts file in a project directory is all we need to create a Gradle project. At this point though, our simple project isn’t much fun as it doesn’t actually do anything.
When you want to start doing stuff with your project, like actually building your application, that’s when you need to add a Gradle build script. It contains the definition of how your application will get built.

When it comes to writing your build script, you have a choice of language, Groovy or Kotlin. Kotlin is the best choice for modern Gradle projects since it provides a better editing experience in the IDE. It’s also the option that Gradle recommend.
Since you define your build script as code, it’s very flexible because you can write any code logic you want to do pretty much anything. You’ll learn all the details of the build script in later lessons. For now though, let’s extend our 30-second project to illustrate a simple build script example.
In our project, we’ll create a file named build.gradle.kts, which will contain our build script written in the Kotlin programming language.
30-second-project
|-- build.gradle.kts
`-- settings.gradle.kts
Inside this file we can write any code we want. Don’t worry if you’re not familiar with Kotlin as you’ll learn more about it later, but for now we’ll just use the println function which prints the string you pass it.
println("This is the 30 second project")If I run the gradle command from within the project directory let’s see what happens. It says This is the 30 second project. Cool!
$ gradle

> Configure project :
This is the 30 second project

> Task :help

Welcome to Gradle 8.2.1.

To run a build, run gradle <task> ...

To see a list of available tasks, run gradle tasks

To see more detail about a task, run gradle help --task <task>

To see a list of command-line options, run gradle --help

For more detail on using Gradle, see https://docs.gradle.org/8.2.1/userguide/command_line_interface.html

For troubleshooting, visit https://help.gradle.org

BUILD SUCCESSFUL in 1s
1 actionable task: 1 executed
Likewise, in the build script I could define variables a and b, and print their sum like this.
val a = 2
val b = 3

println(a + b)
Now when I run the gradle command we get the output 5, which is 2 plus 3.
$ gradle

> Configure project :
5

> Task :help

Welcome to Gradle 8.2.1.

To run a build, run gradle <task> ...

To see a list of available tasks, run gradle tasks

To see more detail about a task, run gradle help --task <task>

To see a list of command-line options, run gradle --help

For more detail on using Gradle, see https://docs.gradle.org/8.2.1/userguide/command_line_interface.html

For troubleshooting, visit https://help.gradle.org

BUILD SUCCESSFUL in 1s
1 actionable task: 1 executed
That’s very nice, you might be thinking, but I don’t really want to have to write my entire build in code like this. No problem, because actually defining Gradle builds requires very little real coding.
In Gradle, you reuse predefined tasks, plugins, and other elements, which you configure together in the build script to seamlessly build small or large projects. By the end of this book you’ll be very familiar with all of these elements, and you’ll have the confidence to apply them in your own projects.
For now, just remember that the Gradle build script is where your build logic lives. In the rest of this chapter, you’ll be introduced briefly to two of the most important elements of the build script, tasks and plugins, as we finish creating this sample project.
Finally, if you’ve used the Maven build tool before, you’re right, the build.gradle.kts file is the equivalent of Maven’s pom.xml. As you’ll find out soon though, Gradle’s build script is a lot more flexible.
1.4. The Gradle task
You just learnt how you can define a Gradle build script in a build.gradle.kts file, and in that file write any code you want. To start creating useful Gradle projects though, we need to use one of the components Gradle makes available to us called the task.
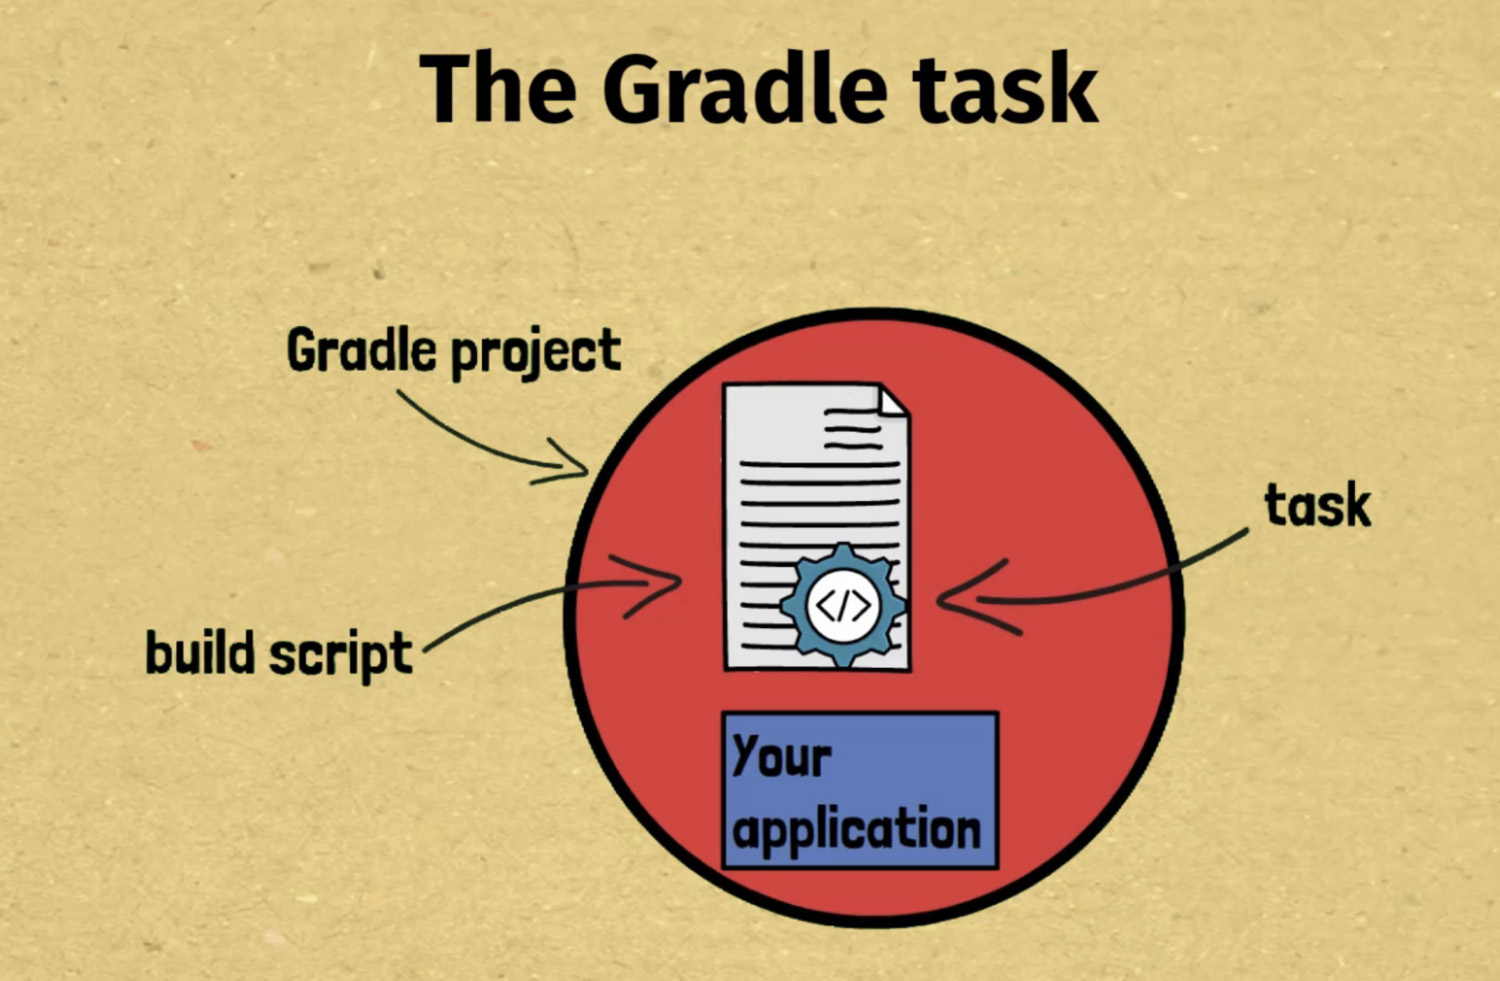
It represents a unit of work to get done in your build, whether that be copying files, compiling code, running tests, or anything else. Every task that’s part of your Gradle build script can be executed from the command line. Your Gradle project could consist of many tasks, and it’s up to you which ones you choose to run at any particular time.
And as you may have guessed, Gradle comes with many pre-packaged tasks which we can use directly in a build script to achieve specific outcomes. With the pre-packaged tasks, all the code logic to do whatever the task does has been written for us. We just have to define an instance of the task, and configure it how we need it. If we need to do something that isn’t supported by one of the pre-packaged tasks, we can always create our own custom tasks.
So how do we use a task in our build script? To show you how, in our build.gradle.kts file I’m going to define a task to copy a file from one location to another. We’ll use one of the pre-packaged Gradle tasks, unsurprisingly called Copy. To define an instance of this task, we’ll need only 4 pieces of information:
-
the task name
-
the type of task, which is Copy
-
the source file location
-
the destination file location
Once the task is defined, we’ll run it from the command line to copy the file.
Let’s go back to our project as we left it in the last lesson, and create a new file to be copied, called important-message.txt.
Within there we’ll write this extremely important message.
Watch out! This is the 30 second projectNow back in our build.gradle.kts file we’re going to define our task.
tasks.register<Copy>("copyMessage") {
   from("important-message.txt")
   into(layout.buildDirectory)
}This creates a task called copyMessage of type Copy. We’re using from to set the source file and into to set the destination directory of the task. This task syntax will be explained in full in later lessons.
We can run this task from a command prompt within the 30-second-project with gradle copyMessage.
$ gradle copyMessage

BUILD SUCCESSFUL in 1s
1 actionable task: 1 executed
In the project directory we now have a build directory containing the copied important-message.txt.
30-second-project
|-- build
|   `-- important-message.txt
|-- build.gradle.kts
|-- important-message.txt
`-- settings.gradle.kts
In summary, that was a very simple use of the Copy task. It’s very flexible though, and can be scaled up to copy whole directories and even do token replacement within files.
Don’t worry about remembering the syntax of defining tasks right now, as we’ll cover it again many times. Later on, you’ll also learn about the other types of Gradle tasks, including the Java related tasks, as well as creating your own custom tasks.
For now, all you need to take away from this tasks introduction is that tasks do some work within your project, can be pre-packaged tasks or custom tasks, and can be executed from the command line.
1.5. The Gradle plugin
You just saw how to define a task in your build script and then execute it from the command line. The last fundamental Gradle concept to introduce you to in this chapter is the Gradle plugin. Plugins allow us to automatically add helpful tasks into our Gradle project using pre-packaged code that either us, Gradle, or some 3rd party has written.
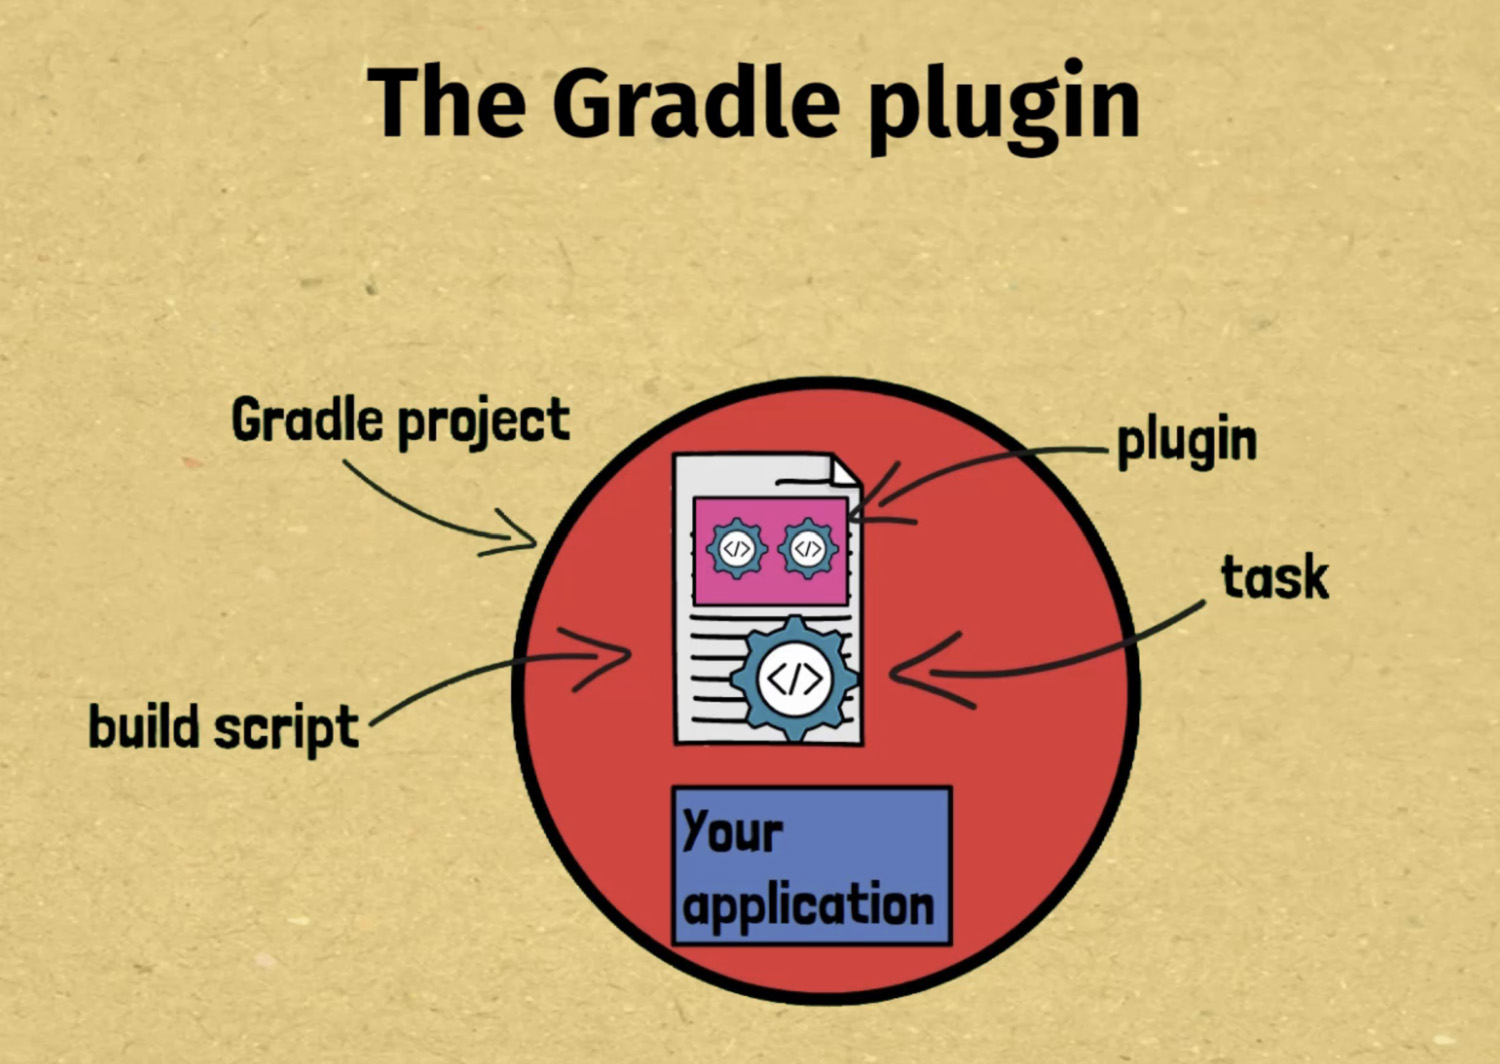
And if you’re thinking at this point that this diagram is starting to look a bit like a face, trust me, it was totally unintended!
Before we get into a practical example, here are some key points to understand about plugins.
-
plugins automatically register tasks into our Gradle project, so we don’t need to do that ourselves in the build script
-
you just have to apply a plugin, and then you’re able to execute any of the tasks it exposes
-
the tasks that plugins expose may be pre-packaged Gradle tasks, like the Copy task you saw in the previous lesson, or custom tasks written by the plugin author
-
plugins allow us to add rich functionality to our Gradle project, including multiple tasks which work together
Applying a plugin
To illustrate how to use plugins we’ll make some more changes to our build.gradle.kts file. You’ll see that the syntax for applying plugins is simple, involving just a one line change.
The plugin we’ll apply is one of the most basic plugins, called the base plugin. This plugin adds some tasks to our project which are common to many Gradle projects, hence its name.
We’ll be able to list these tasks using the gradle tasks command. Then, we’ll execute one of them.
Apply the plugin to 30-second-project by adding this snippet at the top of build.gradle.kts.
plugins {
    base
}
With this plugin applied, if we run gradle tasks we can now see 3 additional tasks listed under Build tasks.
Build tasks
-----------
assemble - Assembles the outputs of this project.
build - Assembles and tests this project.
clean - Deletes the build directory.
Running the clean task
Right now we’ll focus only on the clean task. You’ll learn about the others later on.
In the previous lesson, our copyMessage task created a build directory. The clean task made available by the base plugin allows us to delete the build directory automatically from the command line.
Let’s run the clean task with gradle clean.
$ gradle clean

BUILD SUCCESSFUL in 972ms
1 actionable task: 1 executed
In our project directory we see that the build directory has now been deleted.
30-second-project
|-- build.gradle.kts
|-- important-message.txt
`-- settings.gradle.kts
Later in this book you’ll learn about other plugins, such as the Java plugin, which add rich functionality to projects. For now, all you need to remember from this introductory lesson is that you can easily apply plugins to a build script and plugins automatically add helpful tasks to your project.
1.6. Practical: creating a simple Gradle project
Now it’s time for you to bring together the Gradle concepts from the last four lessons, the project, the build script, the task, and the plugin, and create your first project.
This is a practical lesson, which means you should do the below steps yourself to properly learn these concepts.
A new assignment
The situation is that we’ve been asked by a company that manages many theme parks (also known as amusement parks) to help them with their software builds. As you go through this book you’ll encounter several situations where we’ll create Gradle builds on this topic.
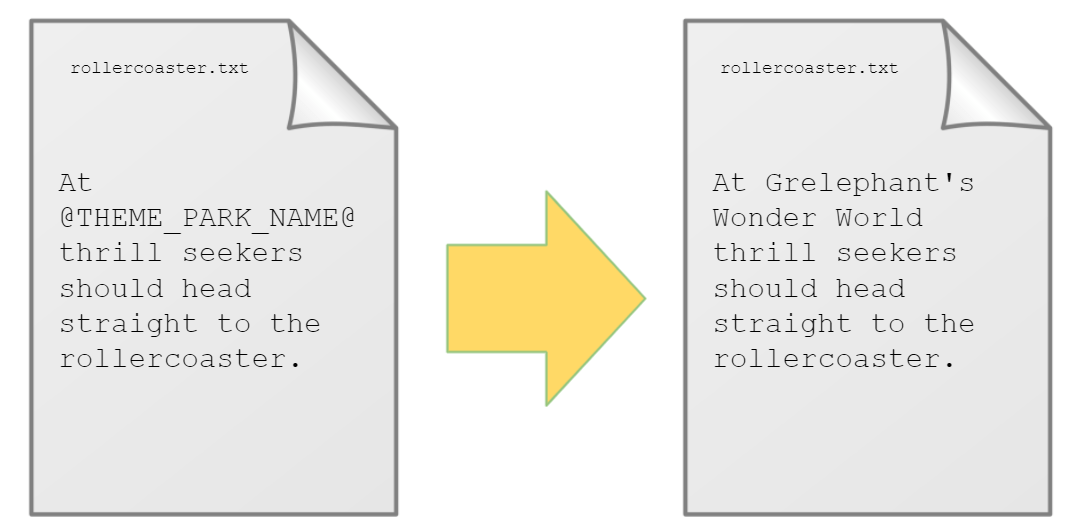
For this lesson, the requirement is very simple. We have several files which contain descriptions for theme park rides. Since we may be running this build for different theme parks we need to substitute in the correct theme park name in the description.
Here’s an example of the rollercoaster.txt file and what the generated file should look like, including the substituted theme park name.
And of course, we’re going to accomplish this important assignment with Gradle!