How To Build an Effective Buy Button for Your Website

What's the most important button on your website?
It's the button customers use to sign up for your app. The one that lets strangers on the internet exchange their money for your valuable product—the Buy button.
If you're considering adding a Buy button to your website, it doesn't have to be complicated. After adding them to multiple websites and generating regular sales, I've discovered the simplest way to create a functional and visually appealing button. All you need are basic HTML skills and a little coding knowledge.
In this article, I'll show you how to add a Buy button, customise its design, and most importantly, link it to your payment page.
Let's jump in and get your website ready for business!
1. The Key Elements of a Buy Button
Try studying the Buy button of any well-known website, such as Amazon, Booking.com, or Airbnb.
The best ones are simple, with a few key elements that help guide the user to click and purchase.

The most important elements of the buttons used by these sites are:
- Rectangular button with rounded corners
- Background colour
- Centred text
- Clicking sends you to a payment page
- Feedback for click, such as a pressed effect
Using HTML and TypeScript, let's combine these elements to create a reusable Buy button component you can add anywhere on your website.
2. Getting Started With a Basic Buy Button
By the time you've completed this tutorial, adding a Buy button will feel like child's play.
Although you could add a Buy button using a simple HTML <button> element, creating a dynamic, reusable button requires a bit more effort.
For that, we rely on these five essential tools to do the heavy lifting:
- npm to install packages
- Vue.js to create a reusable component to render the button
- Nuxt to simplify building with Vue.js
- TailwindCSS to make styling easy
- DaisyUI to apply default button themes
The good news is that setting these frameworks up is a piece of cake for anyone who can copy & paste.
So let's build a tiny app from the ground-up to showcase our button. Follow along and later apply what you learn to your own website.
Generate the button app
In a terminal, run this one-line command to bootstrap a new app:
npx nuxi@latest init --package-manager npm --git-init true --force buy-button-demo
Easy! Now navigate to the new directory and run the app.
cd buy-button-demo && npm run dev
Open http://localhost:3000 in a browser to see the running app.

Great work! Before moving onto the next section, open the project in an IDE, like Visual Studio Code.
code .
Add CSS frameworks
Styling HTML elements is fiddly and time-consuming if you use the traditional approach.
Instead, install TailwindCSS to access its pre-defined classes you add to elements inline, such as rounded, text-xl, and w-full.
Again, it's a one-line command:
npx nuxi@latest module add tailwindcss
To prove it works, open app.vue. This file represents the page you just saw in the browser.
Replace the contents with this:
<template>
  <div class="flex justify-center items-center mx-auto h-screen">
    This is my webapp now!
  </div>
</template>
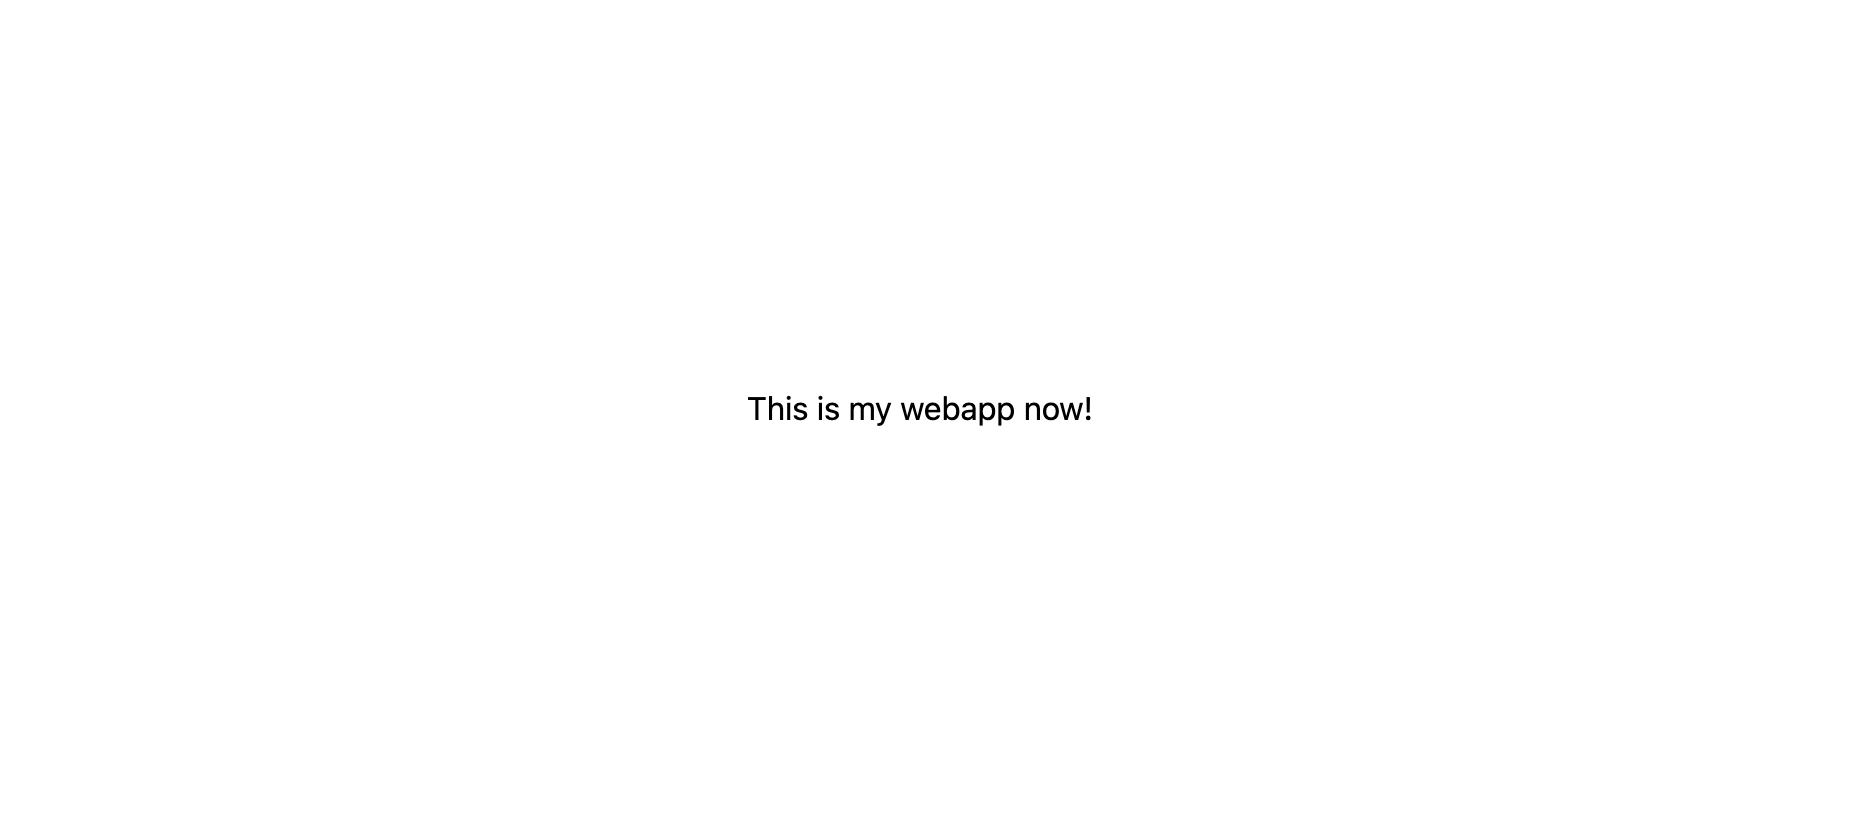
Reload the page and you will see text in the very centre.

Normally styling like this requires many lines of CSS, but you've just done it by applying five TailwindCSS classes!
The final framework to add is the DaisyUI plugin for TailwindCSS. It automatically styles elements, so your webpage looks good with minimal design knowledge—you just pick a theme.
Install DaisyUI with this npm command.
npm i -D daisyui@latest
So TailwindCSS picks up the new plugin, create a file tailwind.config.ts and paste this configuration:
import daisyui from "daisyui"
module.exports = {
  plugins: [
    daisyui,
  ],
}
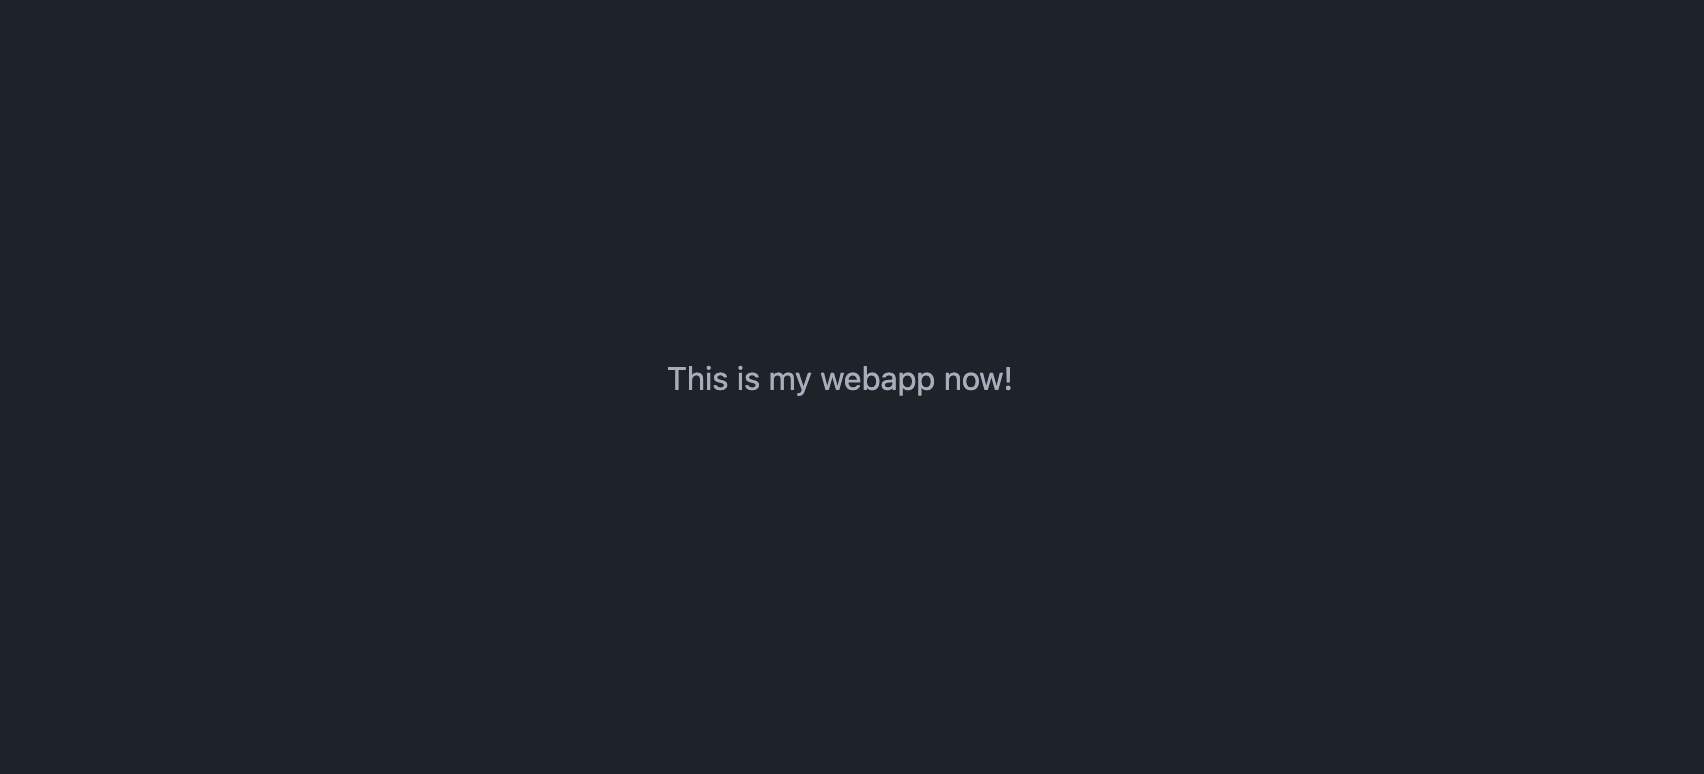
Restart the app, reload the page, and voilà!
The DaisyUI plugin magically styled the page.

Now we're ready to add the HTML <button> element itself.
Include a btn CSS class, which is added by DaisyUI to apply styles automatically.
Update app.vue as follows:
<template>
  <div class="flex justify-center items-center mx-auto h-screen">
    <button class="btn">Buy Now</button>
  </div>
</template>
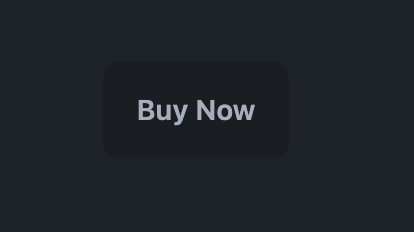
This gives a basic Buy button. Notice the centred text, rounded corners, and background color.

Give it a click. It has a pressed effect when you click it, just like a real button!
There's still a way to go, so let's style our button to make clicking it irresistible.
3. Customising Size and Color To Suit Your Taste
DaisyUI offers themes which each include a defined set of colours that work well together.
There are primary, secondary, and accent colors we can use for the background color of our button, simply by adding one of these classes:
btn-primarybtn-secondarybtn-accent
Update the button to use the accent color.
<button class="btn btn-accent">Buy Now</button>

Looking better, but I think it needs to be a little bigger.
Add the btn-lg and btn-wide classes to make the button stand out.

Looking great!
At this point, let's move the button into its own component for better reuse.
- Create file components/BuyButton.vue.
- Add
<template>tags and paste our button inside it. Then restart your app to pick up the new component.<template> <button class="btn btn-accent btn-lg btn-wide">Buy Now</button> </template> - Back in App.vue, replace the
<button>element with<BuyButton>.<template> <div class="flex justify-center items-center mx-auto h-screen"> <BuyButton /> </div> </template> - Reuse the component as many times as you like in your app!

Ready to hook the button up to actually do something useful?
OK. Lets get it to forward users to a payment link.
4. Linking Your Buy Button to Payment
For the button to take you to a specific payment URL, we'll add an onclick event handler.
This will call a function to update window.location and do anything else you need.
In Vue.js, TypeScript functions are added to components within <script> tags.
So add this function definition to the top of BuyButton.vue:
<script setup lang="ts">
function buy() {
    window.location.href = 'https://tomgregory.com'
}
</script>
Now add a @click="buy" event handler to the <button> element itself, to call the function.
<button class="btn btn-accent btn-lg btn-wide" @click="buy">Buy Now</button>For reference, the complete BuyButton.vue now looks like this:
<script setup lang="ts">
function buy() {
    window.location.href = 'https://tomgregory.com'
}
</script>

<template>
    <button class="btn btn-accent btn-lg btn-wide" @click="buy">Buy Now</button>
</template>
You can set window.location.href to any payment URL you like.
One option is to use a Stripe payment link. You create one through the Stripe UI, which generates a URL. When the user goes to a payment link, they can make payment for your product.
Unfortunately Stripe payment links aren't fully integrated with your website—after payment, the user isn't returned to your site. In a later lesson, you learn how to integrate Stripe checkout with your Buy button for a fully-featured setup.
5. Next steps
You now know how to add visually pleasing and functional Buy buttons to your website.
But a Buy button alone isn't enough to drive sales. To compel someone to purchase, you need to highlight the customer's problem and clearly show how your product solves it.
That's where a landing page comes in.
In the next lesson, we'll cover how to create a landing page that communicates your product's benefits. Building on the example from this lesson, you'll learn to add the three essential elements of a landing page—bringing you one step closer to your first customer.