I put off switching to Gradle’s Kotlin build scripts for so long, that when I actually did it I cursed myself.
It was so much easier than I expected.
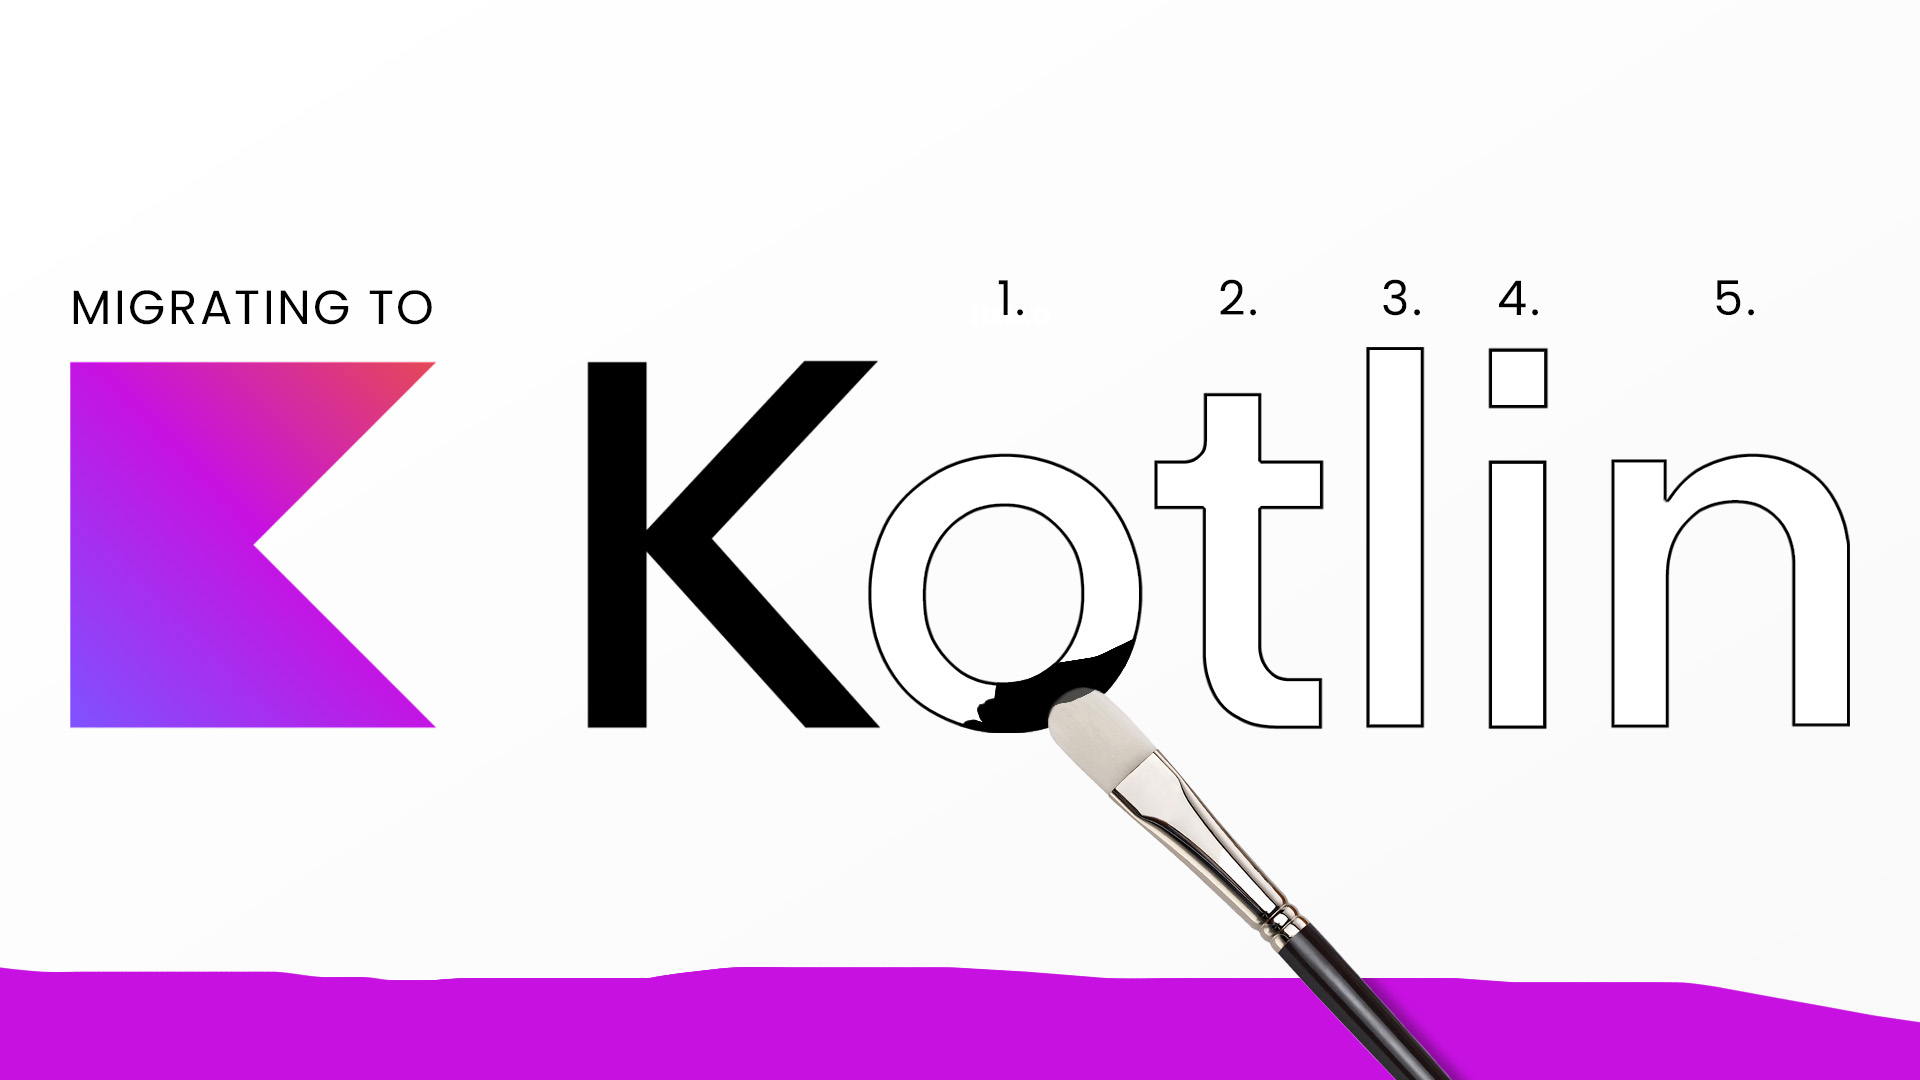
You just have to follow a step-by-step process, which makes migrating build.gradle to build.gradle.kts as easy as painting by numbers.
Once you’ve made the switch, you’ll benefit from:
- a better editing experience in IntelliJ IDEA
- the power of a popular statically typed language
- using Gradle’s recommended build script language
By using the Kotlin DSL, maintaining your Java project’s build system is faster and easier.
And by moving away from the confusing nature of Groovy, you can help your team understand your project’s build system and start to make their own contributions.
So to avoid getting stuck on the old-fashioned Groovy DSL like I did, let’s explore how to migrate to the Kotlin DSL through 5 simple steps.
Pulling the trigger
We’ll migrate the following Groovy build script to Kotlin.
It’s a Java project that we can build on the command line with ./gradlew build.
plugins {
    id 'application'
}

repositories {
    mavenCentral()
}

dependencies {
    implementation 'org.apache.commons:commons-lang3:3.12.0'
    testImplementation 'org.junit.jupiter:junit-jupiter:5.10.0'
}

application {
    mainClass = 'com.gradlehero.themepark.RideStatusService'
}

tasks.named("test") {
    useJUnitPlatform()
}
1. Replace the stupid single quotes
Excuse the crude language, but this is a pet peeve of mine.
In Groovy, strings can confusingly be defined with either single or double quotes.
Kotlin strings are always double quotes (except multi-line strings).
So step 1 is to replace single with double quotes.
plugins {
    id "application"
}

repositories {
    mavenCentral()
}

dependencies {
    implementation "org.apache.commons:commons-lang3:3.12.0"
    testImplementation "org.junit.jupiter:junit-jupiter:5.10.0"
}

application {
    mainClass = "com.gradlehero.themepark.RideStatusService"
}

tasks.named("test") {
    useJUnitPlatform()
}
During the first 3 steps, our build.gradle build script remains valid Groovy, which you can still build with ./gradlew build.
Later on, when we’ve made our Groovy code as similar to Kotlin as possible, we’ll switch our build to Kotlin.
2. Kotlinify your function calls
When you call functions in Groovy you can leave out the parentheses.
Not the case with Kotlin. We use good old fashioned parentheses, loved by Java developers around the world.
But if the function takes a lambda expression as the last parameter, you DON’T need to wrap it in parentheses. (learn more about [Kotlin lambda expressions]({{ relref “/posts/gradle/dont-use-gradle-without-understanding-these-kotlin-essentials#4-lambda-expressions-everywhere” }})).
The sneaky thing about Gradle build scripts is that almost everything is a function call e.g. dependencies, implementation, testImplementation.
For this step, we wrap any function calls that don’t take a lambda expression in parentheses (in this case, implementation & testImplementation).
plugins {
    id("application")
}

repositories {
    mavenCentral()
}

dependencies {
    implementation("org.apache.commons:commons-lang3:3.12.0")
    testImplementation("org.junit.jupiter:junit-jupiter:5.10.0")
}

application {
    mainClass = "com.gradlehero.themepark.RideStatusService"
}

tasks.named("test") {
    useJUnitPlatform()
}
Looking good!
Remember, this is still a valid Groovy build script, but we’re slowly working our way towards Kotlin.
3. Configure plugins the Kotlin way
Gradle plugins have properties you configure in the build script so the plugin works how you want.
For example, the application plugin’s mainClass property is configured so you can call ./gradlew run to run your application.
In Groovy, properties are set with = but in Kotlin you call the .set function.
Here’s how to configure the application plugin using .set.
Before:
application {
    mainClass = "com.gradlehero.themepark.RideStatusService"
}
After:
application {
    mainClass.set("com.gradlehero.themepark.RideStatusService")
}
4. Rename your build script
We’ve done a lot of upfront work on our build script, but now it’s time to tell Gradle to interpret it as Kotlin.
Rename build.gradle to build.gradle.kts, and Gradle does the rest.
The beauty of this approach is that if you have multiple build scripts, you can migrate them one by one and still have a valid Gradle project.
5. Fix any errors
Now when we run ./gradlew build with our Kotlin build script, we get an error:
* What went wrong:
Script compilation error:

Line 19:     useJUnitPlatform()
        ^ Unresolved reference: useJUnitPlatform
This happens because we’re trying to configure the test task, without specifying the Test task type. Remember that Kotlin is statically typed, so it needs this extra info.
Before:
tasks.named("test") {
    useJUnitPlatform()
}
After:
tasks.named<Test>("test") {
    useJUnitPlatform()
}
Run the build task again.
$ ./gradlew build

BUILD SUCCESSFUL in 1s
8 actionable tasks: 8 up-to-date
Now it builds successfully like a well-oiled Kotlin machine!
Final thoughts
Depending on the size of your project, there may be other steps. But you can see that moving to Kotlin might not be as hard as you thought.
If you do want to use the Kotlin DSL, a good understanding of Gradle’s fundamentals makes editing build scripts much easier.
The fastest way to gain this knowledge in written form is the recently released Gradle Build Bible 2nd Edition. The e-book guides you to Gradle mastery, now using the recommended Kotlin DSL and latest Gradle version 8.
If you’re ready to level up your Gradle skills, then [grab a copy of Gradle Build Bible today]({{ relref “/gradle-build-bible” }}).
Resources
For reference, here’s the full migrated Kotlin build script.
plugins {
    id("application")
}

repositories {
    mavenCentral()
}

dependencies {
    implementation("org.apache.commons:commons-lang3:3.12.0")
    testImplementation("org.junit.jupiter:junit-jupiter:5.10.0")
}

application {
    mainClass.set("com.gradlehero.themepark.RideStatusService")
}

tasks.named<Test>("test") {
    useJUnitPlatform()
}
Stop reading Gradle articles like these
This article helps you fix a specific problem, but it doesn't teach you the Gradle fundamentals you need to really help your team succeed.
Instead, follow a step-by-step process that makes getting started with Gradle easy.